Re: LTD Power by Bagel
Posted: Mon Sep 24, 2012 12:33 pm
Bit of a set back this morning, good ol Murphy had to put his two cents in.
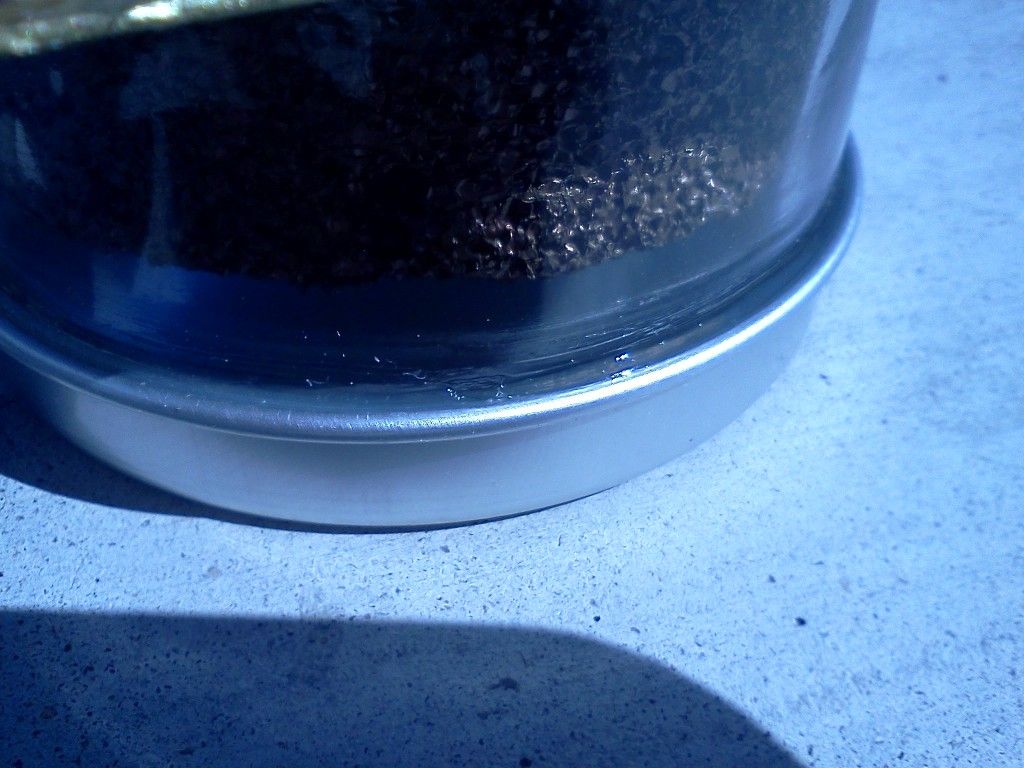
Last nite I used clear RTV to attach the displacer cylinder to the aluminum hot pan, put a bead around the outer edge right at the bottom, and it looked like a pretty good seal as I slid the cylinder into the pan, spreading down the pan and up the displace cylinder. I thought the longer area of coverage down the sides of the pan would give a better seal than an edge alone would, so I didn't build up with more RTV hoping for a nice clean look.
I let it cure overnite, then tested this morning. Put a cup of boiling water into the hot box that came right up to the hot pan. Let it warm up, and then started spinning the flywheel, nothing. Gave it some more warm up time, and touched the aluminum hot pan to test for heat, seemed good, but spinning the flywheel the proper direction did nothing, and pushing the opposite direction only slowed it down a bit compared to the correct direction. Replaced the water with a tea candle, nothing. Added ice to the top plate, nothing. Felt the hot pan and it was hot enough to burn my finger if I hadn't just swiped it, but still nothing when I turned the flywheel. A couple seconds pass, and the ice begins to melt down the sides, and now turning the flywheel results in hissing and sputtering, and I see a small drop of water seep into the hot pan.
So, I pulled out the ladie's fingernail polish remover. Poured it around the bead of the hot pan and let it soak a while. Pulled on the bead of the hot pan, and added more polish remover, and soaked some more. Repeated till all but about a 2 inch area came free, but that area wouldn't budge. So I had to remove it with the pliers, deforming the hot pan. Luckily, the Easy Bake ovens come with two pans.
Cleaned up the RTV from the displacer cylinder with oil and green pad, then soap and water. Letting it dry out completely, then will repeat the sealing process with the second pan, but this time I'll use a larger first bead around the cylinder's base, as well as add a second bead around the pan's bead, ensuring plenty is forced down around the entire circumference. I'll be less concerned with looks, and more with a functional seal this time. Second test run tomorrow after a full nite's cure on the new thicker RTV seal. Here's a pic of the new bead around the pan's bead, will probably add another bead since I'm paranoid now.
